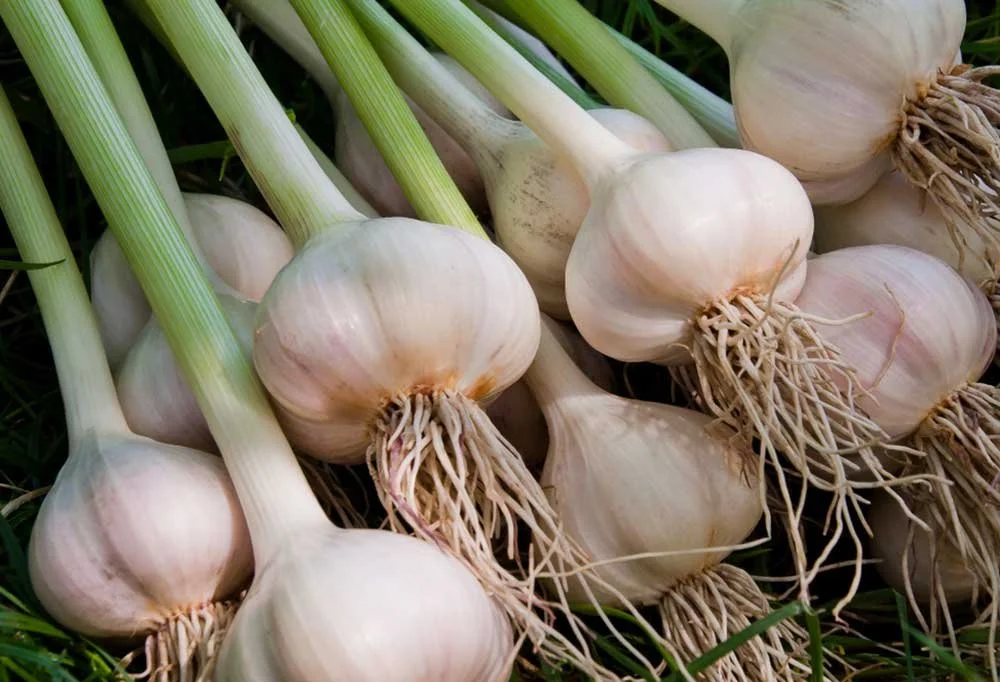
A Guide to Growing Garlic: From Bulb to Bounty
Are you ready to embark on a flavorful journey in your garden? Garlic, with its distinctive aroma and taste, is a staple in many kitchens and a delightful addition to any garden. We just got a fresh shipment of garlic bulbs, so you're in luck! In this blog post, I'll walk you through the steps of growing garlic from bulb to bountiful harvest.
Prepare the soil
Garlic thrives in well-draining soil with good fertility. Before planting, amend the soil with compost or well-rotted manure to improve its texture and nutrient content. Aim for a pH level of 6.0 to 7.0, slightly acidic to neutral.
Planting
Plant your bulbs in the fall. We recommend late October once the temperatures have cooled. Break apart the bulbs into individual cloves, keeping the papery skin intact. Plant the cloves about 2 inches deep and 6-8 inches apart, with the pointed end facing up.
Mulching
After planting, cover the garlic bed with a layer of mulch to insulate the soil and suppress weed growth. Straw, leaves, or compost work well for this purpose.
Watering
Garlic prefers consistent moisture, especially during its growing season. Water your garlic regularly, but make sure the soil doesn't become waterlogged. Overwatering can lead to rot.
Scaping (only for hardnecks)
As the garlic plants grow, you'll notice the emergence of scapes—curly, green shoots that emerge from the center of the plant. While these are edible and have a mild garlic flavor, removing them diverts the plant's energy towards bulb development. Snip off the scapes when they start to curl to encourage larger bulbs.
Harvesting
Knowing when to harvest garlic is essential. When the lower leaves turn yellow or brown and about half of the foliage has dried, it's time to harvest. Gently dig up the bulbs, taking care not to damage them. Allow the harvested bulbs to cure by hanging them in a cool, dry, and well-ventilated area for a few weeks. This curing process enhances flavor and extends storage life.


